2. INSTALL WAMPSERVER
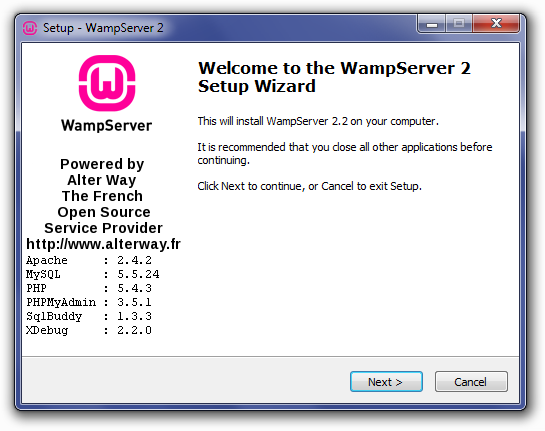
Double click on the file you just downloaded and follow the install process.

After the install process, run the Server. The status of the Server should display green which means the server is active or online and ready for use. If it does not show green, it means another application is perhaps using the same port as the WampServer, in this case, you will need to close all applications and restart WampServer. Some applications that are known to cause WampServer not showing online includes Skype and some other game applications that use Port 80.

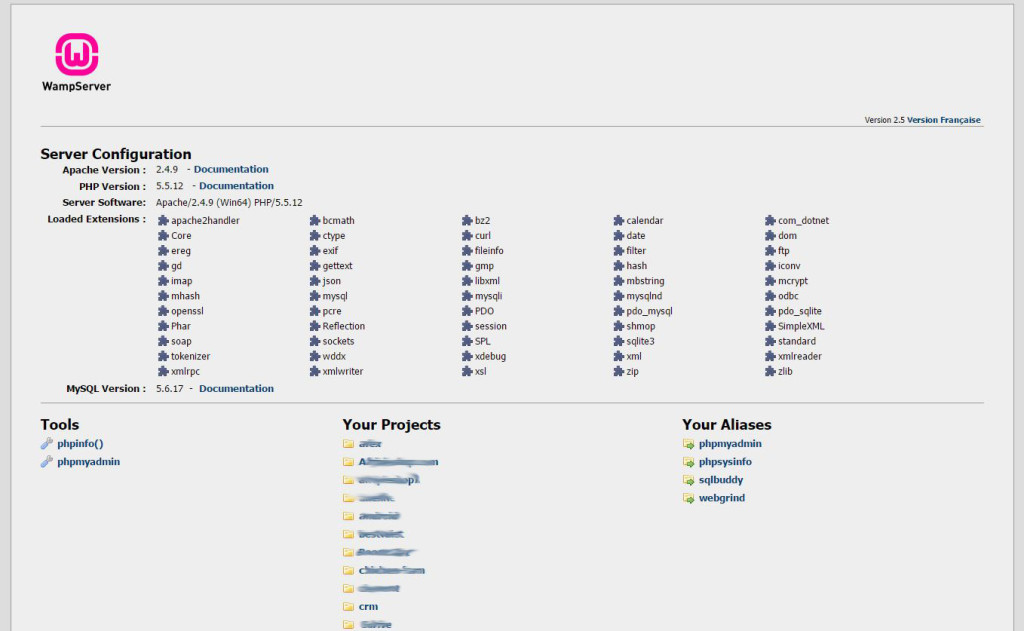
When your WampServer shows online, you can open your browser and point to http://localhost/ which will display the home page of the WampServer. You should see the Server Configuration and links to phpmyadmin and sqlbuddy where you can create new database and database users to manage your database.
Under “Your Projects” will be your various projects websites. Any new project you work on will display here and you can access and browse your projects directly from here.
Under “Your Aliases“, you will find links to phpmyadmin and sqlbuddy, these two you will need to create new database in case the project you are working on requires database especially WordPress Development.


